Showing posts with label baking. Show all posts

Sunday, November 30, 2025

Soft Pretzels

 Last night we were at the mall doing some Christmas shopping.  My son wanted to buy a soft pretzel.  It cost more than a week allowance.  I told him if he wanted, we could bake some when we got home.  "That's a thing?!" he was incredulous that we didn't bake them on the regular if this was in fact a thing that could be done.

When we got home I searched up an easy recipe and we started in.  I also looked up when I had posted about baking these last on this blog.  Sure enough, this post was from before my son was born.  Now, I know I've made them since then.  But he makes a good point that it hasn't happened ever since he can remember. 


May you and those you love enjoy some joyful time in the kitchen this holiday season. Enjoy! 

Monday, January 15, 2024

Hawaiian Rolls

Yesterday for dinner we had BBQ pulled pork on homemade Hawaiian Rolls.  I found the recipe for the rolls at I HEART eating.  Head over there for a printable version of the recipe, and instructions.

Here are the ingredients I used:

  • 1 cup pineapple juice (plus 1/2 cup water - use 1 1/2 cup pineapple juice if you have it)
  • 4 1/2 teaspoons instant yeast (original recipe calls for active dry)
  • 2/3 cup granulated sugar divided
  • 1/2 cup margarine use butter if you don't have a dairy allergy at room temperature, plus extra for brushing rolls
  • 2 large eggs
  • 5 to 6 cups bread flour
  • 1 teaspoon salt 


The first step said to grease two 9" by 13" pans and set them aside.  This seemed fine, but then because of the rise times, they were sitting there taking up space in my kitchen for quite a while.  I think next time I would wait until closer to when I transfer the rolls to the pans to grease them up.


To start making the rolls, I needed pineapple juice.  This isn't something we typically stock in our pantry, and there is a winter storm outside making it inconvenient to get to the store just now, so I drained a can of pineapple tidbits that we had on hand for pizzas. I added a bit of water to make the full 1 1/2 cups, but I definitely got more juice than I expected that way.


I microwaved the pineapple juice to get it up to a warm temp. I overshot 105 slightly, but it cooled down quickly while I was getting the other ingredients in the bowl.


2 Tablespoons of the sugar. (I realized later that since I was using instant yeast, all the sugar could have gone in at once, since I didn't need to proof the yeast).


4 1/2 teaspoons of yeast.


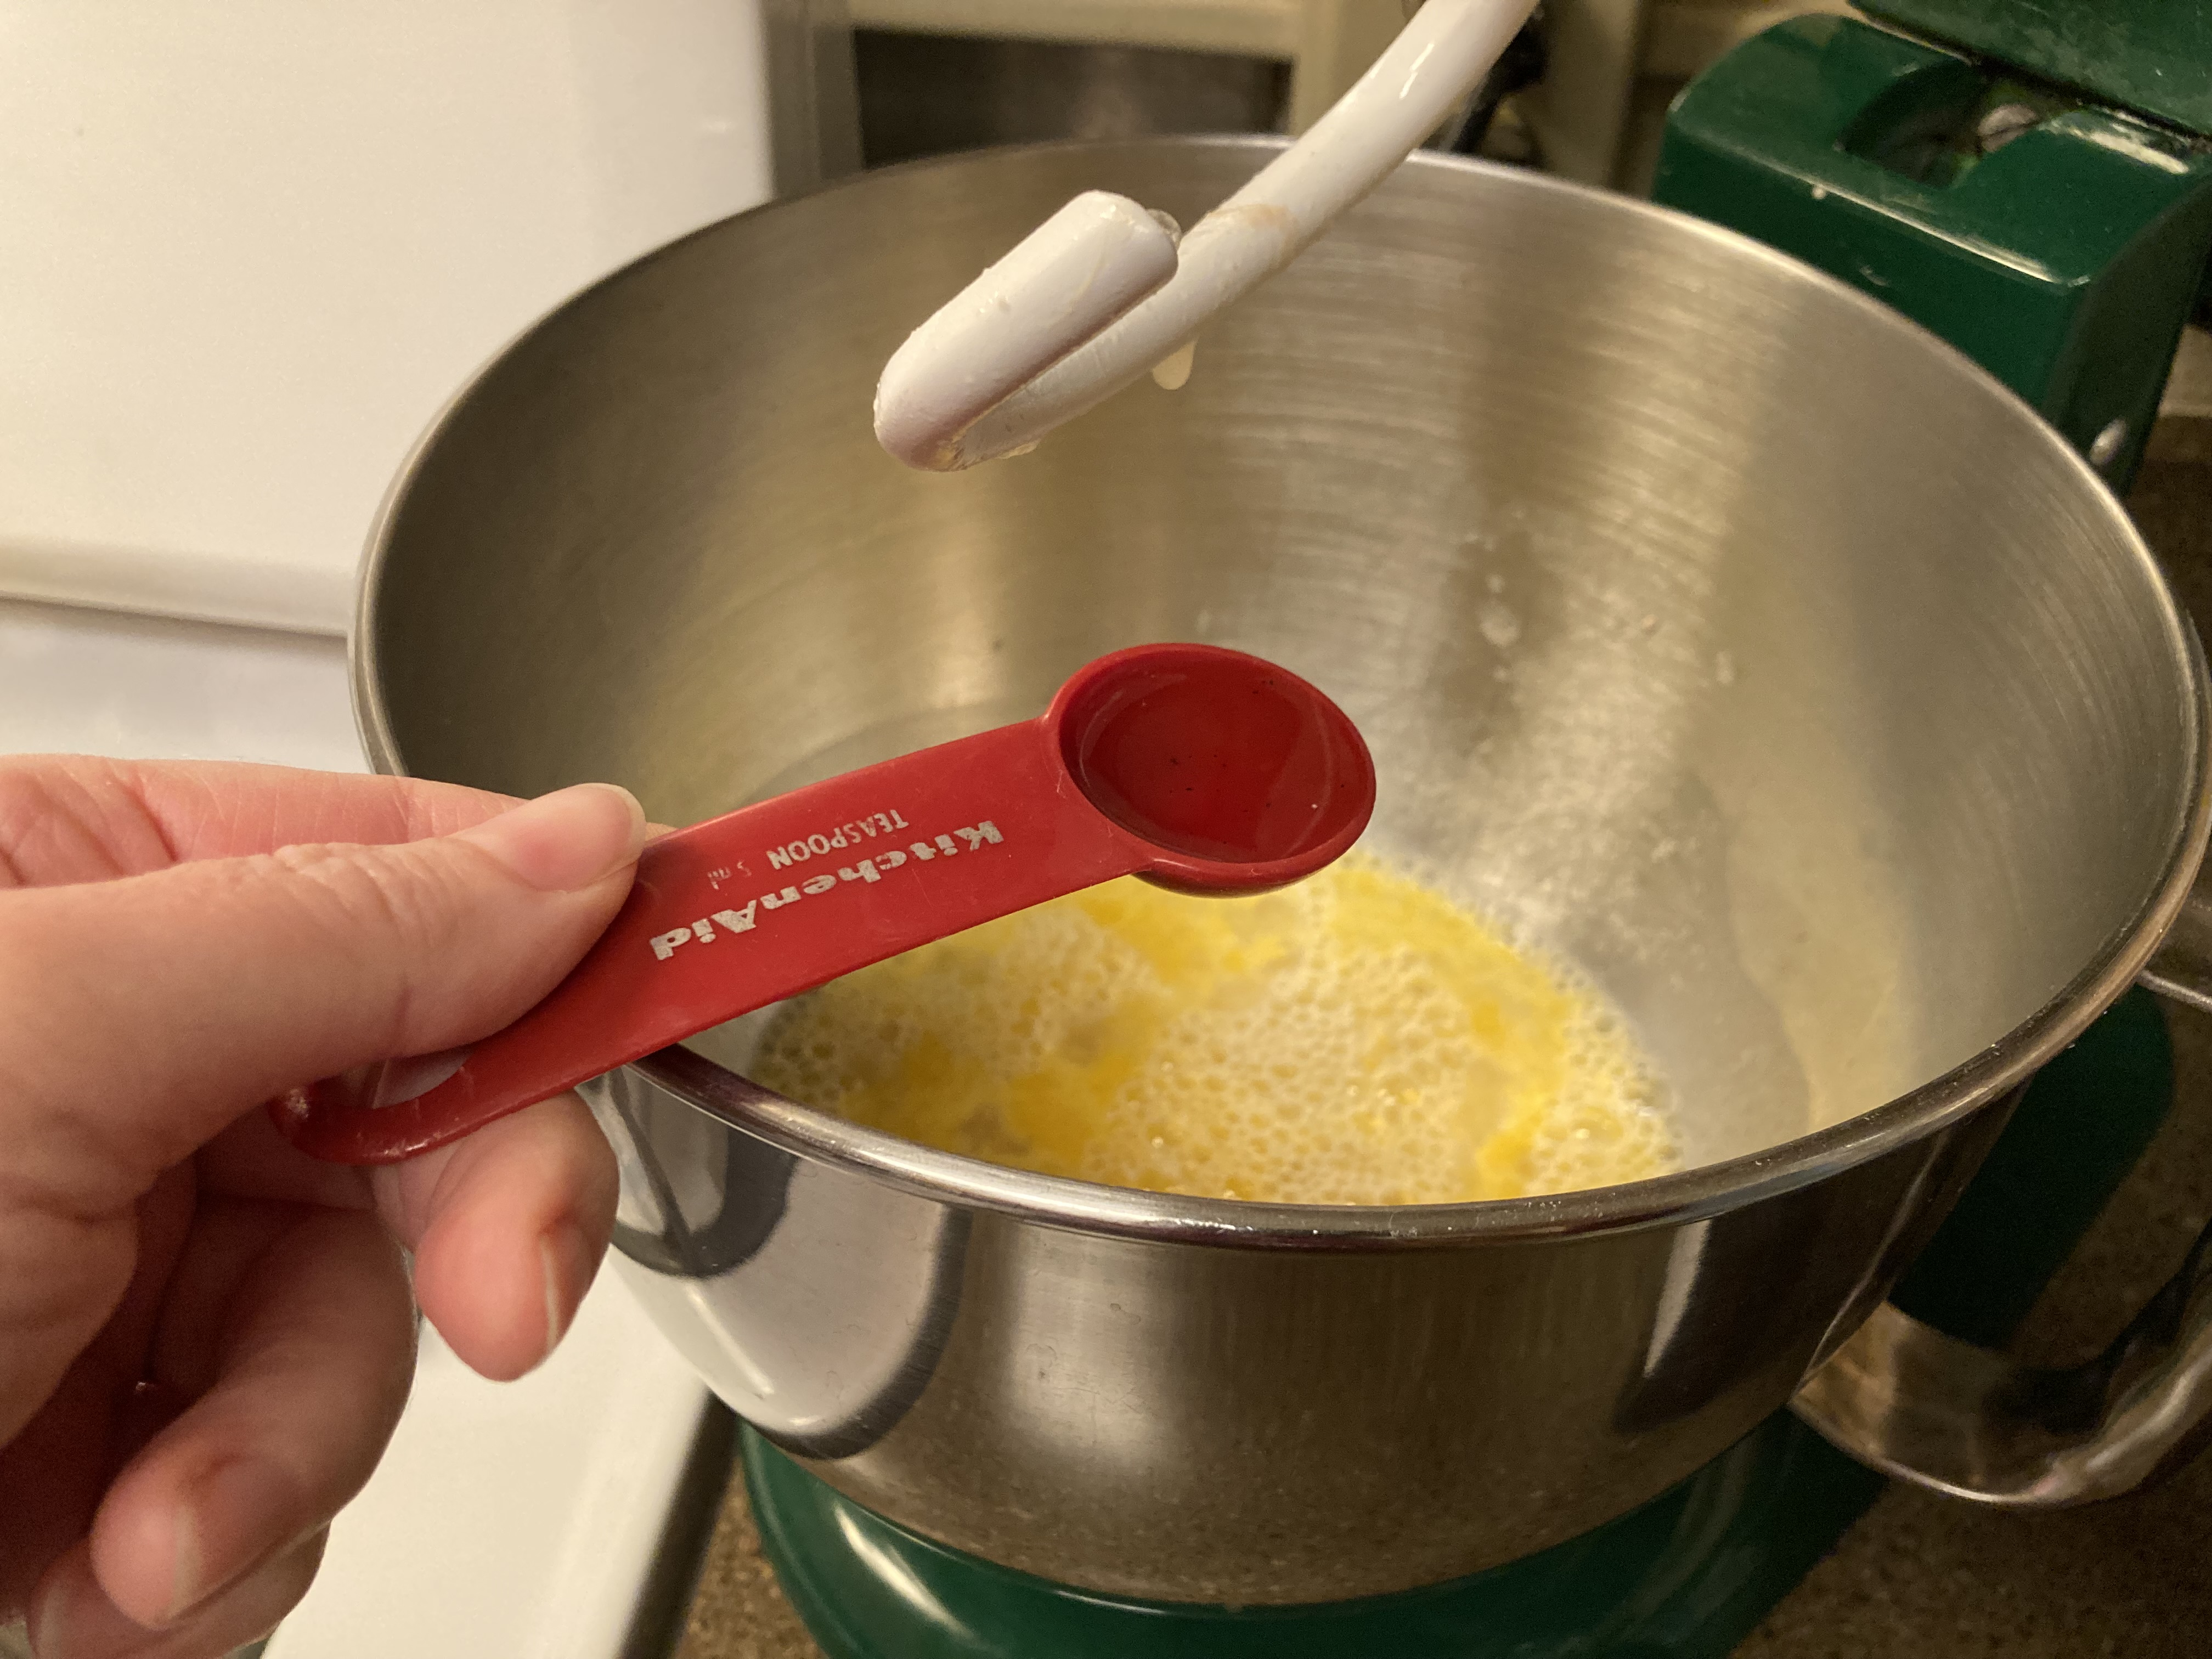
At this point I added the rest of the sugar, the eggs, and the vanilla extract. I forgot about the margarine, but you will want to add yours at this point.


I stirred it up.


Then added 3 cups of the flour.


And the teaspoon of salt.


I mixed it


And then began to slowly add flour to get the dough to clear the sides of the bowl.


I kneaded it in the mixer for one minute on low as instructed.  I covered it with plastic wrap and was going to let it rise.  In the meantime, I began to clean the kitchen up and noticed the margarine sitting on the counter.


Oh dear.  As when I dropped an entire egg into the bowl while making Chewy Chocolate Chip Oatmeal Cookies... "this step is optional."


I plopped the margarine in on top of the dough, and began to mix it.


I have no idea how much flour I ended up using, because before I was done I was just grabbing handfuls of the stuff and throwing it in the mixing bowl.


Eventually it was once again what appeared to be the desired consistency, so I covered the bowl and left it to rise.  When I came back, I used my new bench scraper to divide the dough into roughly even pieces, by forming the dough into circles, and cutting it like a pizza.


I rolled the dough into balls and placed 12 in each prepared pan.


I covered them up with one of my new flour sack towels, and let them rise again.


When the rise time was done, they went into the oven at 350 degrees Fahrenheit. 


Here is a sneak peak at what the rest of dinner was.


When they came out, I neglected to brush them with butter, so they don't have the typical Hawaiian roll sheen.


Nonetheless, they were tasty.  They were not as light as I had hoped, but I was the only one that seemed the least bit bothered by this.  Also, it may have been owing to the extra kneading when I inadvertently omitted the fat from the dough and had to re-work it.  I was pleased they turned out at all, considering.


I would certainly use this recipe again.  Let me know if you give it a try!


Wednesday, August 31, 2011

Peanut Butter Frosting

I've decided that my attention to domestic activities appears to be in direct relation to the amount of time I spend alone in my home.  When my husband is home, it rarely occurs to me to try a new recipe or scrub down all the walls.  But when he isn't here... I begin to fill my time in Suzy Homemaker ways.

Today while he was at work, for example, I decided to try making some cupcakes and decorating them with a swirl of peanut butter frosting.  That was a first - I've never made peanut butter frosting before today.  I will be taking these cupcakes to bunco tonight and will see what my tasting panel thinks.  But I am getting way ahead of myself.

First, I mixed up some batter and dolloped it into the tin:


All ready to go in the oven:


When the cupcakes were baked and cooling on the counter, I began making the frosting, roughly by this recipe here.  But I subbed margarine in for butter - then cut it back because no one wants a mouthful of margarine.  I upped the peanut butter to compensate.  I used soy instead of cream.  I also added some vanilla for good measure.  It wasn't looking too promising there for awhile:


But I got it whipped into shape before too long.  Then, using a Pampered Chef kitchen gadget that always reminds me of puffed paint, I started frosting my cupcakes.


Like so:

They turned out like this:


Viola!


I wished I had chocolate sprinkles to top them with, but I don't.  Maybe I will run to the store and get some... along with a container to transport them to bunco tonight.

Happy baking!

Friday, November 26, 2010

Apple Pie Filling

Once you've got your pie crust prepared, you are ready to move on to the filling. Preheat the oven to 425* to start with.

For the filling you will want:

  • 1/2 cup sugar
  • 3 Tablespoons flour
  • 1/4 teaspoon ground nutmeg
  • 1/4 teaspoon cinnamon
  • a dash of salt
  • 5 cups thinly sliced pared tart apples (about 5 medium green apples will do)
  • a few dabs of butter or margarine
Mix the first five ingredients together in a bowl and set aside.

This was the first time I had used the apple peeler, slicer, corer. I was a bit intimidated, so I had my husband help. It turned out to be not only easy, but fun too! You put the apple on the prongs:

Then you turn the handle and it peels and slices the apple.

It goes very quickly and works great!

Now you can pull it off of the core.

And you have an apple spiral, like so:

If you cut the apple through from top to bottom, you end up with lovely thin apple slices. When you have five cups worth, stir them into the sugar and spice mix.

Pour them out of the bowl into the prepared crust:

Put a few dabs of butter, or dairy free margarine if you have a milk allergy. (I use Imperial, but if you are allergic to whey, you will have to use something else.)

Next, put the second pie crust on top and cut slits in it for the steam to escape during baking. Squeeze the edges together so the filling stays in. If you are feeling fancy, you can "flute" it.

Cover the edges of the pie with foil so that they don't burn.

Cook until golden brown, and juice begins to bubble through slits in the crust. For me this was about 35 minutes, I think. Take the foil off during the last 15 minutes of baking so the edges can brown up as well.

Enjoy!